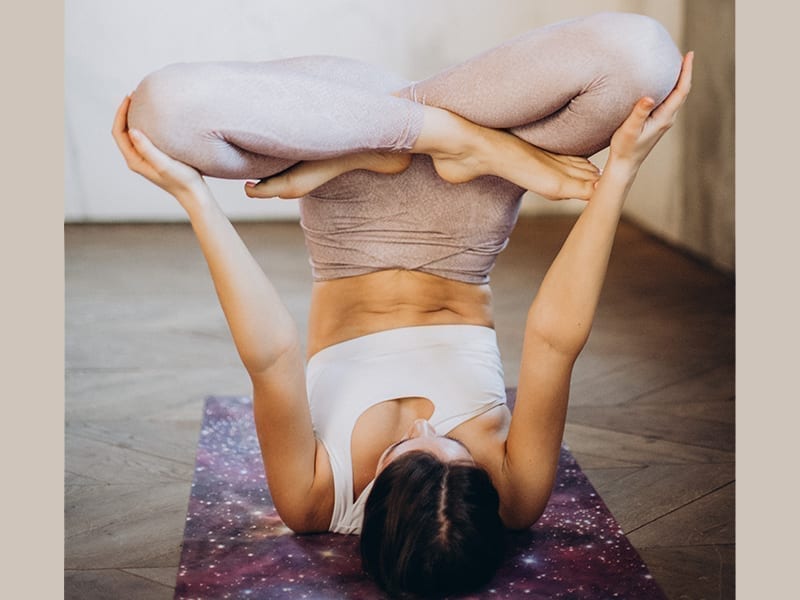
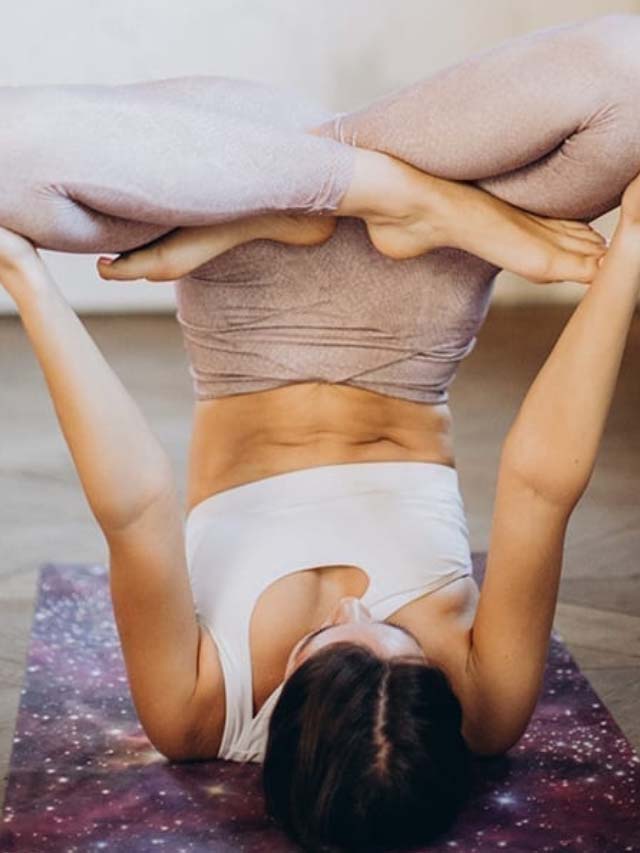
Ever seen gymnasts perform headstands or circus artists being able to invert themselves so gracefully? If you ever wondered how you can do the same, you should give this form of yoga a try. Inversion yoga consists of poses where the heart is higher from the ground than the head. Called ‘Viparita Karani’, where the head comes in contact with the earth and the legs with the sky.
This yoga is more suited for people with an intermediate skill range, there are certain poses suitable for beginners. Also, while a trainer is not necessary for all poses, one can begin by practising near a wall or with a friend for support.
10 Benefits Of Inversion Yoga
Inverted yoga poses have many benefits both physically and psychologically for everyone, especially women. Here are a few:
- Improves blood circulation
- Tones your body and increases core strength
- Improves balance in your body
- Helping the flow of blood and oxygen to your brain helps with concentration and memory
- Energises your body by increasing blood flow to the brain
- Removes impurities in the lower abdomen caused by diabetes, obesity, and other medical conditions
- Helps normalise menstruation cycles in women
- Prevents illness by increasing immunity by cleansing the lymph nodes
- Stimulates the nervous system to reduce stress and insomnia
- Teaches humility and perseverance and increases self-confidence
Health Exceptions For Inversion Yoga
Inverted yoga poses should not be practised by people suffering from certain conditions like:
- Hypertension
- Ear and eye problems
- Neck or back injuries
- During pregnancy or menstruation
- Epilepsy
Top 5 Inversion Yoga Asanas For Beginners
1. Dolphin Pose
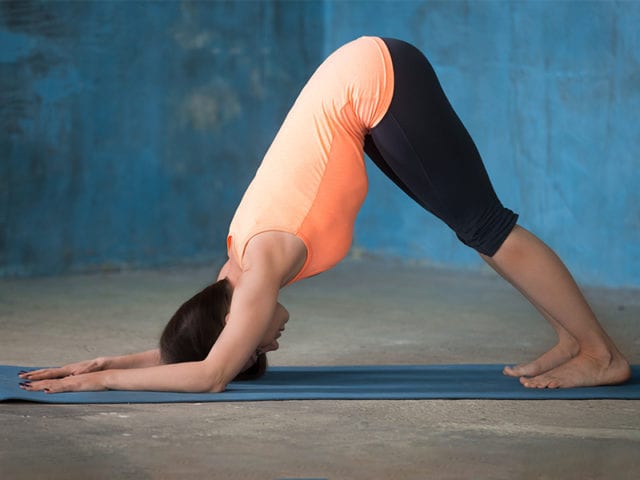
Dolphin pose or Ardha pincha mayurasana, a variation of the downward-facing dog pose strengthens the core, arms, and legs, while also nicely opening the shoulders.
How to Do It:
- From all fours, come down onto your forearms. Spread your fingers wide and keep elbows shoulder-width apart.
- On an inhale, tuck your toes and lift your hips up and back like you’re in Downward-Facing Dog. Allow your head to hang above the floor.
- Ground down into your forearms and lift your upper body away from the floor. Press your heels down toward the mat for a nice hamstring stretch.
- Stay between 30 seconds to one minute. Then release your knees to the floor with an exhale.
2. Headstand Pose
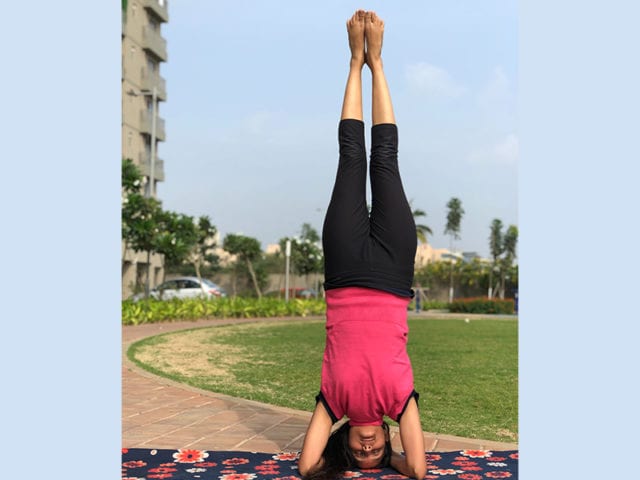
Headstand yoga or Sirsasana in proper alignment helps in strengthening the whole body and also calms the brains.
How to Do It:
- Start on all fours facing the wall. Interlace your fingers with your knuckles facing the wall. Place elbows on the floor shoulder-width apart. Place the crown of your head on the floor into the basket created by your interlaced fingers.
- Tuck your toes under, lift knees off the floor and reach your hips up and back. Press down into your forearms and lift up through shoulders.
- Walk your feet in closer as you broaden across the chest. Most of the weight should be concentrated in your forearms.
- Draw your knees into the chest with control, place your feet on the wall, and slide heels up the wall simultaneously. Reach up through your legs.
- Come out of the pose with control, maintaining the lift off your shoulders.
- A variation of this asana is the forearm stand yoga which can be practised by advanced level yogis.
3. Shoulderstand Pose
Shoulderstand yoga or Salamba sarvangasana should be practised under a trainer’s eye and uses blankets as support.
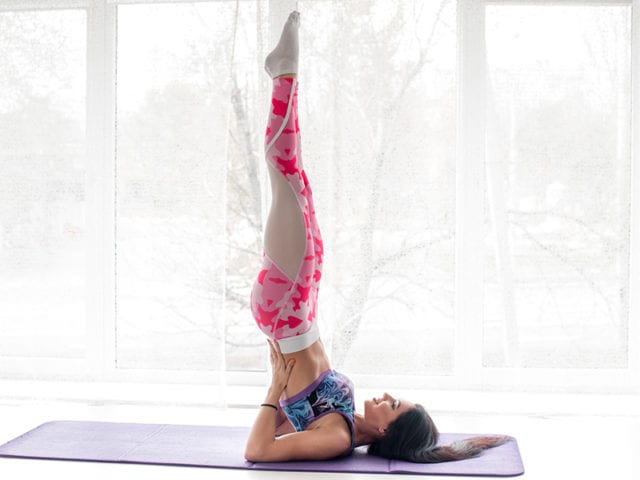
How to Do It:
- Neatly stack two blankets with the folded edges aligned with the short edge of your mat. Lay on the blankets and place the tops of your shoulders 2 inches from the edge of the blankets.
- Rest your head on the floor, off the blanket. Place your arms at your sides. Bend your knees and bring your feet to the floor, heels near the butt.
- As you inhale, bring your knees in toward your chest. As you exhale, straighten your legs and send them up toward the sky. Place your hands on your lower back to support your posture, fingertips pointed down toward your tailbone.
- To come out of the pose, bend your knees in toward your chest and slowly lower down onto your back.
4. Legs Up The Wall Pose
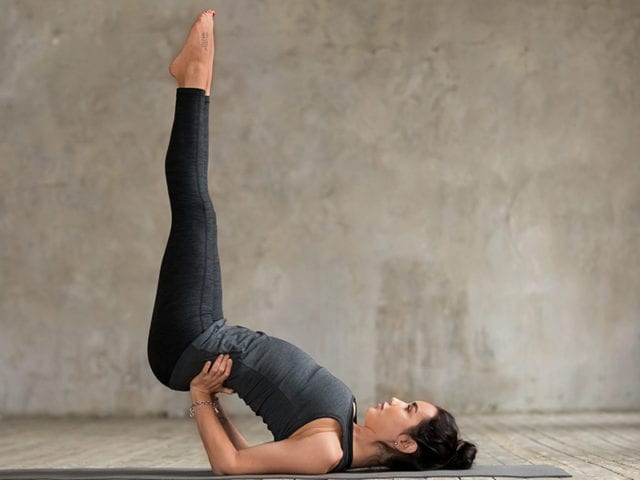
Viparita Karani is a passive, supported version of the Shoulderstand yoga. There’s a general consensus among modern yogis that this asana may have the power to cure whatever ails you.
How to Do It:
- Start with your support about 5 to 6 inches away from the wall. Sit sideways on the right end of the support, with your right side against the wall.
- Exhale and, with one smooth movement, swing your legs up onto the wall and your shoulders and head lightly down onto the floor.
- Take a small roll made from a towel for example under your neck if the cervical spine feels flat. Open your shoulder blades away from the spine and release your hands and arms out to your sides, palms up.
- Stay in this pose anywhere from 5 to 15 minutes. Be sure not to twist off the support when coming out. Instead, slide off the support onto the floor before turning to the side.
5. Extended Puppy Pose
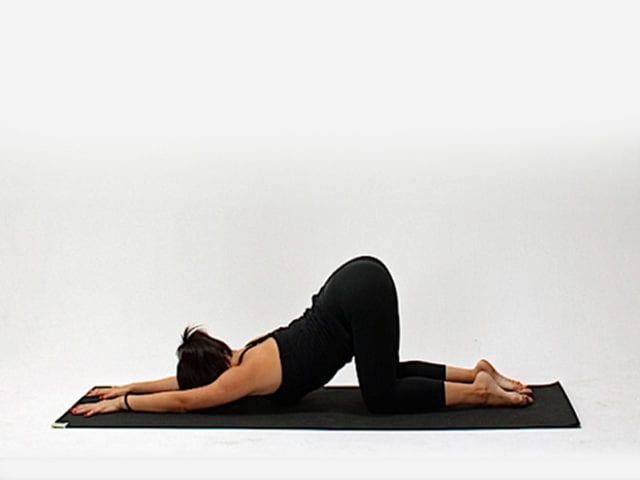
Uttana Shishosana is a cross between a child’s pose and downward-facing dog, that lengthens the spine and calms the mind.
How to Do It:
- Come onto all fours. Walk your hands forward a few inches and curl your toes under.
- As you exhale, move your glutes halfway back toward your heels. Don’t let your elbows touch the ground.
- Drop your forehead to the floor or to a blanket and let your neck relax. Keep a slight curve in your lower back. Press the hands down and stretch through the arms while pulling your hips back toward your heels.
- Breathe into your back, feeling the spine lengthen in both directions. Hold for 30 seconds to a minute, then release.
Props For Inversion Yoga
A few props can help you correct your posture and technique while practising your inversions. Based on the exercise you can use the following props:
- Mat, blanket or pillow for cushioning your shoulders and head
- Yoga bricks for extra support in the hands and legs
- Straps and pads to maintain postures
Precautionary Tips
Here are a few guidelines for inversion yoga for beginners before starting the practice:
- Perform these postures early in the morning on an empty stomach to avoid acid reflux and other gastric issues
- Take your time when moving from one hold to another. Take all necessary precautions as the slightest mistake can result in grave injury
- Inhale and exhale slowly throughout the exercise. Do not hold your breath
- Practice regularly and slowly build your strength each day by extending your hold pose for longer breaths
- If you fall, try to roll your body instead of tensing up. Always practice safety when returning to the starting position
FAQs – Frequently Asked Questions
Q. How long should I invert?
A. You should begin with 1-2 minutes per session of inversion yoga and advance only as you feel comfortable. Keep in mind that frequency is more important than duration. Over time, you can go up to 3-5 minutes.
Q. How do I prepare for inversions?
A. If you have mastered the basic yoga poses, you can begin practising inversions. Do not attempt headstand yoga on your first attempt. Start with basic asanas like downward dog, dolphin pose, etc before moving to any advanced level poses.
This yoga inversions beginners guide will help you overcome fear and discover how to defy gravity. Following these asanas will revitalise your mind, body, and spirit while providing a challenge for yourself. Being upside-down changes your view of the world, both literally and metaphorically. It can teach us to get out of our habits and take a break from the norm. Just like these inversion yoga exercises for beginners where you do not require any coach, you can practice these simple yoga asanas to reduce belly fat.

