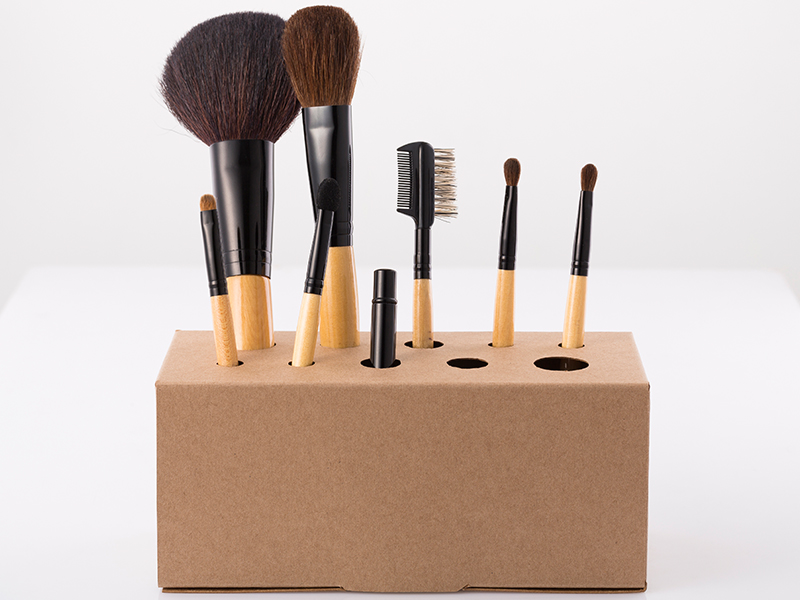
Are you passionate about makeup and have a fairly large makeup collection? Then one of the biggest problems you must face is how to store and organise the products. Line them up on the table and the space looks messy! Toss them in the drawer and they are lost forever! Storing makeup products can be quite a task, especially if you have a small space. The good news is, there are several makeup storage ideas that can help you transform your space and keep your makeup products in an organised way.
A well-organised makeup collection makes it easier for you to locate products and have a no-stress makeup and skincare routine. It will also help you to figure out what item you need to repurchase before the product finishes. Whether you’re a neat freak or not, a neatly organised space is sight for sore eyes!
8 Simple Makeup Storage Ideas For A Fuss Free Room
Here are a few easy to follow makeup storage ideas for small spaces.
1. Clear Organisers
When it comes to storing and organising makeup items, clear organisers are a much better option than pouches and boxes. These not only look great but also make it easier to find what you are looking for. You can purchase a larger freestanding clear organising container ( they also have ones with drawers!) to keep all your makeup in one place. If you want to keep makeup separately (divided according to categories, brand etc), invest in smaller single slot containers.
2. Rotating Organisers
If you are planning to buy an organiser for storing your makeup items, consider investing in a rotating organiser or Lazy Susan. All your products can be displayed on this carousel organiser and you can easily access the ones you use on a regular basis. No more ransacking through makeup pouches or drawers! Just spin the device and find whatever you are looking for in a flash. A rotating organiser will also make your makeup table look more stylish.
3. Lip Colors Can Be Stored In Glass Jars
If you have extra glass jars lying around in your house, use them to store your lipsticks and lip balms. These jars can be placed on your dresser or inside your cabinet, making the space look tidy and organised. This will also make it easier to locate the item you are looking for.
You can arrange the items according to colour, packaging, usage or brand.
4. Upcycle Old Trays
Searching for makeup vanity ideas to organise your space? Look no further! If you are tired of seeing your makeup products scattered all over the table, this idea can help. Upcycle an old serving tray by painting it a bright colour. If you want you can add patterns to it or give it a more classy look by painting it silver or golden. Place this tray on your table. Put a few mason jars on it to hold your brushes and lipsticks. Add a small glass bowl for rings and other knick-knacks.
5. Pocket Organisers
A multi-slot pocket organiser can be a lifesaver when you are running out of space in your drawer or cabinet. You can hang these anywhere…perhaps at the back of your cabinet door! All your items will be visible at a glance and you can pick what to need without making a mess. These organisers come in various sizes. Pick one according to your requirement and the available space.
6. Use Glass Cases To Keep Makeup Brushes
This is one of the best makeup brush storage ideas out there. Lost your pair of sunglasses ages ago but still have its case? Maybe you can still put it to some good use. Sunglass cases can be used for storing makeup brushes. This way you can protect your brushes from dirt and dust. Plus you won’t have to worry about misplacing an item since all your brushes will be kept together in one case. Moreover, your collection will always be at-the-ready when you are packing for a trip!
If the case is too plain and boring, pick up your paints and brushes and give it a makeover!
7. Use A Cupcake Stand To Organise Makeup Items
This is one of the best makeup vanity ideas for small spaces. Place a two or three-tier cupcake stand on your dresser and use it to stack your makeup products. You can use this idea to organise nail polishes, perfume bottles and other smaller items. Place a few disposable cups for keeping your lip colours and eyeliners.
You can ramp up the cake tray by giving it a bright colour and patterns. If you are wondering how to store makeup in a stylish way, this hack is just what you need.
8. Store Your Eyeshadow Ice Cube Trays
One of the best makeup vanity ideas for storing eyeshadows is using ice cube trays. If you are one of those people who prefer separate jars of various eyeshadow colours instead of a large pallet, then this one’s for you. You can organise your eyeshadow singles in a bead organiser or an ice cube tray. This way, all those tiny eyeshadow jars will be stacked neatly in one place!
4 DIY Makeup Organizers To Declutter Your Space
1. DIY Plastic Holders
These colourful plastic holders can be used for keeping your makeup items (brushes, lip colours, eyeliners) and other tiny knick-knacks. Place them together on your dresser to give the space a bright and cheerful look.
Here’s how you can make plastic holders with spray bottles!
You will need:
- 3-4 plastic spray bottles in different colours
- Permanent marker
- Rubber band
- Scissors
- Iron
Method:
- Start by placing a rubber band around the plastic bottle at the desired height.
- Using the rubber band as a guide, draw a line all the way around the plastic bottle.
- Carefully cut the bottle along the line.
- Heat the iron and keep the edge of the bottle against it for 3-4 seconds. This will melt the edges, giving them a smooth finish.
- Repeat steps 1 to 4 for each bottle.
- You can stick a label on each bottle.
2. Hanging Organiser With Clear Pockets
If your makeup table is running out of space, try this hanging organiser to store your makeup items. This may take a little more effort but the results are totally worth it!
Things you will need:
- Fabric
- Sturdy clear plastic
- A steel or plastic hanger
- Scissors
- Needle and thread
Method:
- Using the hanger as a size guide (for width), cut two rectangular pieces of fabric of the desired length.
- Use the leftover cloth to make bindings for the pockets.
- Keeping in mind the size of the items you will be putting in the pockets, cut out small rectangular pieces from the clear plastic.
- Sew the cloth bindings on the top of the pockets.
- Sew the pockets to one of the large rectangular cloth pieces. Make sure they are equally spaced.
- Now lay the bottom fabric piece (the one without pockets) on a flat surface and place the hanger on top it. Keep the other layer (the one with pockets) on top. Align it with the bottom piece.
- Carefully sew the two pieces of fabric together. Go around the hanger as well as down the sides. Only the hanger hook should be visible at the top. Leave the bottom open.
- You can add a thick layer of interfacing in between the two layers to make your hanging more sturdy.
- With the remaining fabric, add a binding around the bottom as well.
3. Drawer Organisers
Put all those empty cardboard boxes lying about your house to some good use and make a DIY makeup organiser. These DIY drawer dividers are a simple and inexpensive way to make your space look neater. You can make a compartment for each category of makeup items so that everything has its own place!
Here’s how you can make your DIY makeup organiser for drawers.
Things you will need:
- Empty cardboard boxes of various sizes and shapes
- Craft papers and wrapping papers
- Tape
- Scissors
- Pencil
Method:
- Empty your drawer and plan out how to divide it. This included planning out the shapes and sizes of the dividers. You can go for larger but fewer compartments or several smaller ones. Place the empty boxes in the drawer to get a better idea.
- Use the height of your drawer as a guide to determine the height of each compartment. Mark the desired height around the edge of each box and cut accordingly.
- Use the wrapping paper/cardstock paper to wrap the cut boxes. Make sure you cover the inside as well as outside edges of the box. Remember to neatly push in the creases around the inside edges.
- You can use the same colour paper for all boxes for a uniform look. Or you can use different colours for a brighter look!
4. Glass Brush Holder
These super stylish DIY brush holders are very simple to make. If you have a huge brush collection and want all the items to be displayed together, this is the perfect hack for you.
Here is how to make makeup brush holders using glass containers.
Things You Will Need:
- Wide-mouthed glass jars or containers
- Small ornamental stones,
- Potpourri
- Craft paper
- Washi tape
- Markers
Method:
- Fill (about 3/4th) of each glass container with the stones and potpourri. In case you do not have ornamental stones, you can use coffee beans or kidney beans instead!
- Cut the craft paper into labels. You can add a zig-zag pattern to the edges to give it a fancy look.
- Use the marker to write the different categories on each label. Stick the labels to the jars.
- Decorate the outer surface of the glass with washi tape. Your DIY brush holder is ready!
The key to saving time and efforts is to get organised. Proudly display your makeup collection, keep your favourites safe and make it easy to get ready without a fuss. Add to your existing makeup stash and give each item its personal space with these amazing storage ideas and DIYs.


