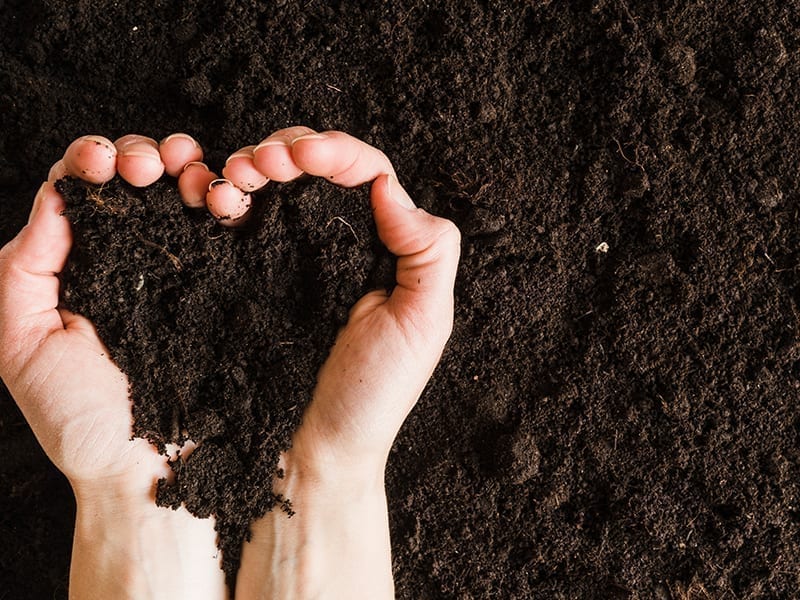
What if you could grow pretty flowers, healthy vegetables and juicy fruits right next to your kitchen? No matter the amount of space available, growing your own food, safely and organically, is possible with a simple process called composting. Homemade compost for plants can be made easily with organic waste, peels, leftover food, stale bread, garden scraps and more, by turning it into nutritious, chemical-free compost. How to make compost from kitchen waste at home, you ask? It involves simply tossing organic waste from your house into a pit with soil, and letting the bacteria work their natural magic.
4 Must Know Benefits Of Composting
Composting is a great habit to develop as it benefits your health, gives you a lush garden and is great for the environment!
1. It’s Free!
Composting is the simple process of turning the organic waste from your kitchen into useful fertiliser for your plants. Apart from the initial set up, there are no maintenance costs. There are no input costs as well because all that goes in comes right out of your kitchen.
2. Environmentally Responsible
The kitchen waste that you put in a compost pit would otherwise go into the dustbin. Without being segregated, it would reach the landfill and rot there, degrading the soil, air and water around it. Composting biodegrades this waste in a controlled manner, thus reaping only benefits of the process.
3. Healthier For You
Due to adulteration nowadays, it is difficult to ensure the freshness and quality of the food we consume. By composting at home, you have free, healthy fertiliser that you can use to grow a kitchen garden. Then you can have super fresh produce and be sure that you are feeding your family the best.
4. Cost-Effective

To achieve optimum health for your houseplants or kitchen garden, you may have to shell out some serious bucks for various fertilisers. But compost, being a mix of essential nutrients required by plants, is the one-stop solution for your plants. If you are using compost in a garden, it is a healthier option than fertiliser as it doesn’t hamper the soil chemistry.
3 Common Types Of Composting
Before you start planning how to make compost, it is important to know which type you should adopt to get the best results. There are three main types that you should know:
1. Vermicomposting
As the name suggests, this method involves worms! And not just any worms, but redworms, which you introduce into your composting pit. They eat up the waste and fasten up the decomposition. Plus, their excreta is super nutritious for the soil, so you end up with healthier fertiliser for your plants.
2. Cold Composting
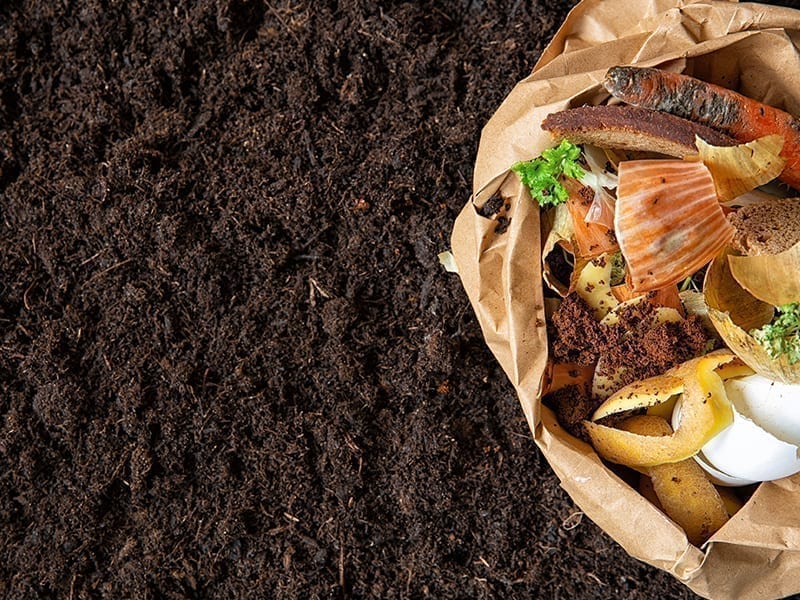
This is the simplest way to compost, where you toss in all the organic waste from your kitchen, garden or anywhere else in the house into a compost pit. Though easy, this is also the most time-intensive process as it can take up to a year to decompose. So if you are not in a hurry, cold composting is the way to go.
3. Hot Composting
This one is a faster, labour-intensive process. Hot composting requires a bit of your involvement but yields compost in 3-4 months. You have to introduce carbon, nitrogen, water and air into the mix to get optimum results.
What To Compost?
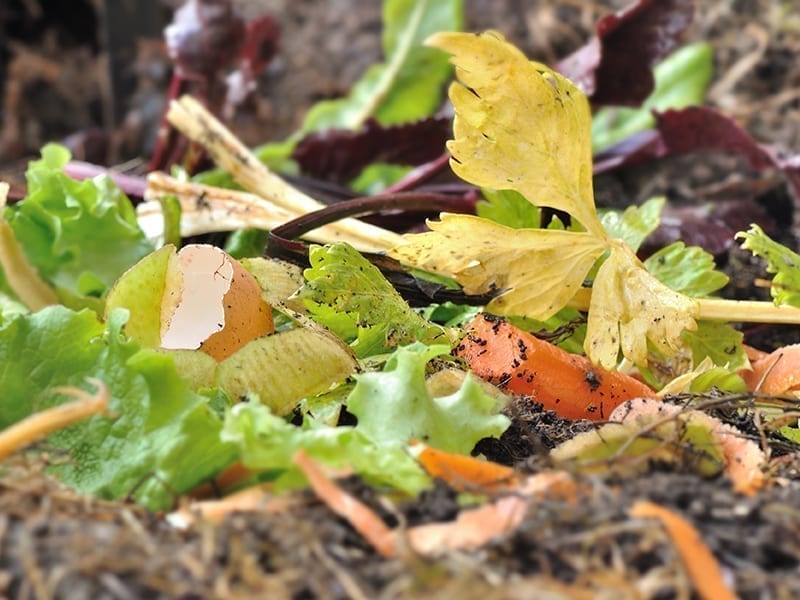
With so much talk of composting, you must be wondering what can or cannot you put in the pit. Well, here is the answer:
DOs
- Fruit scraps
- Vegetable peels
- Coffee grounds/used chai leaves
- Dried leaves and grass clippings from your garden
- Eggshells
- Newspaper (shredded)
- Animal waste from cows, rabbits, goats, chickens
DON’Ts
- When composting paper, do not include papers with coloured ink or glossy ones.
- Meat, bones and dairy should be avoided as it can attract pests to the compost which can degrade its quality.
- Herbicides, pesticides, chemical fertiliser should not be introduced into the compost pit, either by themselves or through products that may have them.
- Diseased plants, veggies or fruits should be avoided as the rot may spread to the soil in which the compost is added.
- Avoid pet droppings from a house cat or dog as it can add diseases to the compost which can spread to the soil later.
Now that you know so much about composting, let’s find out how to make compost step by step:
Prerequisites For Making Compost At Home
Before we start talking about the steps, keep in mind that a healthy compost pit needs four components to thrive:
- Carbon
- Nitrogen
- Water
- Air
While carbon and nitrogen are generated when organic waste decomposes, water and air need to be added regularly.
1. Compost Bin
If you have a large open space, like a backyard or garden, you can dig a large pit in the ground and use it for composting. However, if you don’t, you can get a compost bin. It is a plastic container, which you can place in an open space around your house. To decide how to get the right composter for yourself, consider the following:
Now let’s look at the things you will need:
| Space Available | Composting kitchen waste only | Composting kitchen and garden scraps | Composting garden waste only |
| Urban house with no outdoor space | Compost bin (preferably, vermicomposting) | ||
| Urban house with some outdoor space, like balcony, lawn or small garden | Vermicomposting in bin | Compost bin | |
| Suburban space with large open space, like garden or backyard | Compost bin (preferably, closed) | Compost bin (preferably, closed) | Compost bin (preferably, closed) |
| Rural area with wide-open space | Compost bin (preferably, closed) | Open compost pit in the ground/closed compost bin | Open compost pit in the ground/closed compost bin |
2. Spade/Rake
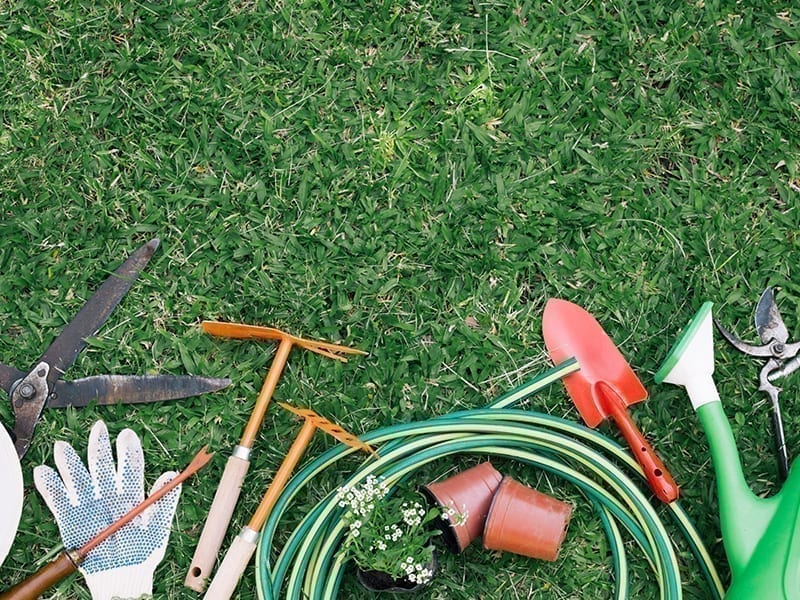
If you choose hot compost, you will need a spade or rake to turn the compost pile. This will add air to the mix and will speed up the decomposing process.
3. Watering Equipment
You will also need to water your compost pile from time to time to speed up decomposition. So, depending on the size and location of your compost pit, you can pick a watering can, hose or garden pipe to water the pile.
A 5-Step Guide On How To Make Compost At Home
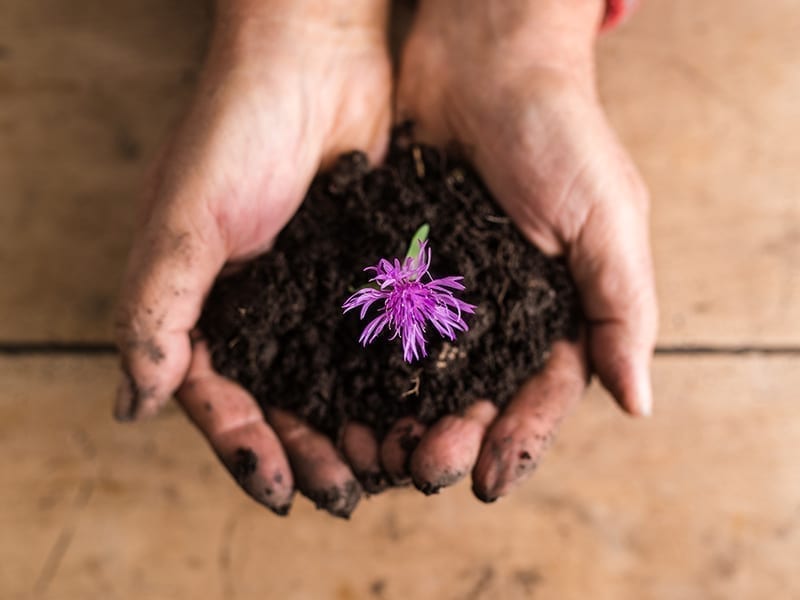
Once you have arranged the equipment, let’s understand how to make compost.
1. Prepare Your Compost Pit/Bin
Lay down a few layers of straw first. This will provide aeration to the pile and allow excess water to drain. Next, add ‘green’ and ‘brown’ materials. They include:
| Type | Includes | Why? |
| Green Material | Kitchen and garden waste | Adds carbon |
| Brown Material | Wood scraps, sawdust, paper, cardboard | Adds nitrogen |
Add alternating layers of green and brown materials till your compost pile is at least 3 feet deep. The ratio of brown to green materials should ideally be 3:1. If ever, during the process, question how to make compost at home, just remember if your pile looks too wet or smelly, add more brown material. If it looks too dry, it needs more green material.
Another tip worth remembering is that the smaller the bits of material, the easier it will decompose. So shred or break up large materials before putting them in the pile.
If you are vermicomposting, this is also the step where you add the worms.
2. Keep It Moist
Once the compost pile is prepared, sprinkle it with water. But make sure to not add too much water. That may cause waterlogging and the compost will not decompose properly. If you are making cold compost, this step need not be done regularly, but hot composting will need regular watering.
3. Mix The Pile
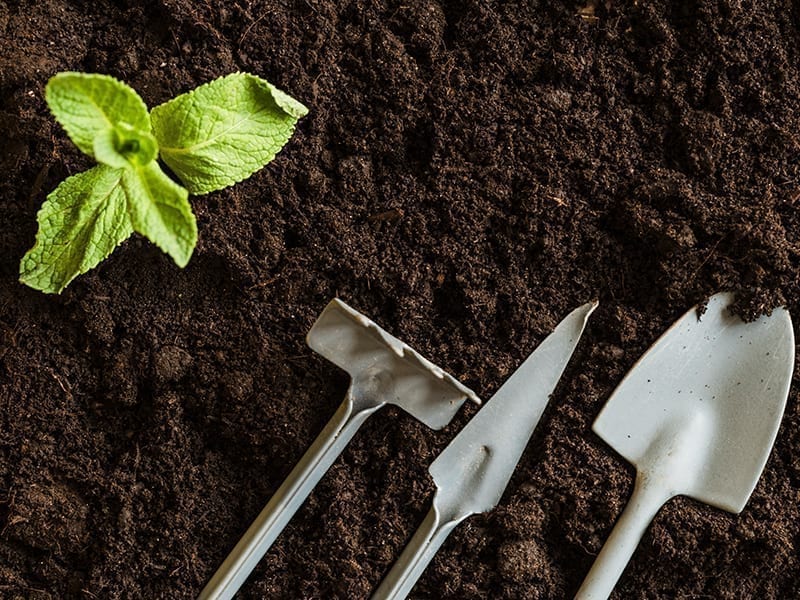
The next step is to turn the pile a few times with a spade or rake. This is important to introduce air into the mixture. This will also prevent your compost from becoming smelly. If it is cold compost, this may be done while preparing it for the first time. In case of hot compost, mixing and turning the pile should be done regularly (ideally, after every 2-3 weeks).
4. Cover It Up
When the compost pile is prepped, cover it with plastic, asbestos, or ply sheet. You can use anything available to you as long as it is waterproof. This will prevent excess rainwater to seep in and waterlog your compost.
5. Ready To Harvest!
Depending on the method chosen and amount of material, the compost will become usable between 4 months to 1 year. When the material in the pile starts looking dry and crumbly, it means that it is ‘cooked’ and ready to use. Scoop out this nourishing compost and put about 4-6 inches in your plant pots or flower beds. If you still have some left, you can use it to make liquid fertiliser. Put the remaining compost in water and leave for a few days. Then strain the mixture and use the water as fertiliser for plants.
By making your own compost, you will be significantly reducing your carbon footprint. Plus, you will reap the benefits of healthy food by growing it without harmful chemicals. You can pass on these benefits by gifting homemade compost to your friends and family. You can also set up a community compost pit so that everyone around you can pitch in and enjoy fruits of your own garden. So now that you have learnt how to make organic compost, get cracking!

